SpringMVC框架实现上传图片的示例代码
发布于 2018-03-21 00:54:15 | 289 次阅读 | 评论: 0 | 来源: 网友投递
Spring Framework 开源j2ee框架
Spring是什么呢?首先它是一个开源的项目,而且目前非常活跃;它是一个基于IOC和AOP的构架多层j2ee系统的框架,但它不强迫你必须在每一层 中必须使用Spring,因为它模块化的很好,允许你根据自己的需要选择使用它的某一个模块;它实现了很优雅的MVC,对不同的数据访问技术提供了统一的接口,采用IOC使得可以很容易的实现bean的装配,提供了简洁的AOP并据此实现Transcation Managment,等等
本篇文章主要介绍了SpringMVC框架实现上传图片的示例代码,小编觉得挺不错的,现在分享给大家,也给大家做个参考。一起跟随小编过来看看吧
一.创建图片虚拟目录
在上传图片之前,先要设置虚拟目录(以IDEA为例)
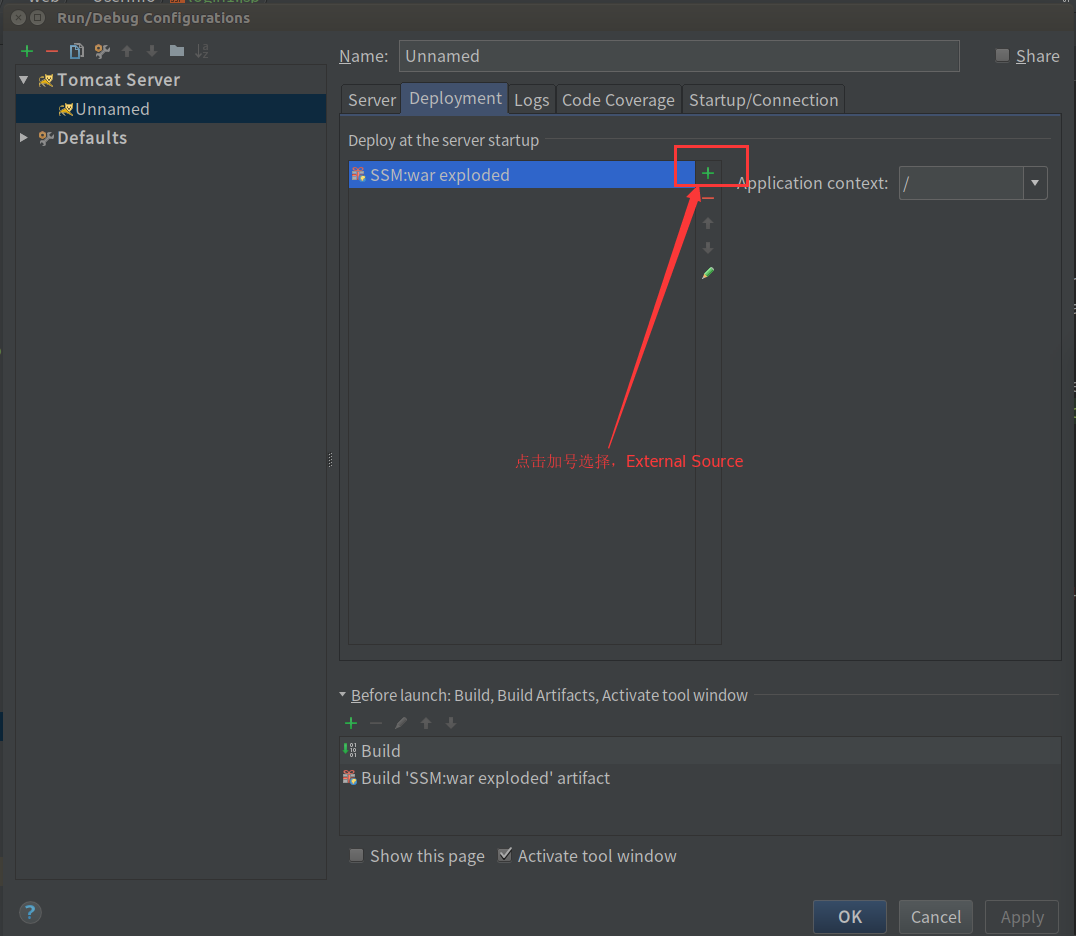
- 打开工具栏的运行配置Edit Configurations
- 添加物理目录和并设置虚拟目录路径


添加img图片在img文件夹内

测试访问:http://localhost:8080/img/img.jpg

二.SpringMVC上传头像
1.SpringMVC对多部件类型的解析
上传图片SpringMVC.xml配置
在页面form中提交enctype="multipart/form-data"的数据时,需要springmvc对multipart类型的数据进行解析。在springmvc.xml中配置multipart类型解析器。
<!--文件上传-->
  <bean id ="multipartResolver" class="org.springframework.web.multipart.commons.CommonsMultipartResolver">
    <property name="maxUploadSize">
      <value>5242880</value>
    </property>
  </bean>
2.添加依赖
<!-- 文件上传 -->
<dependency>
  <groupId>commons-fileupload</groupId>
  <artifactId>commons-fileupload</artifactId>
  <version>1.3.1</version>
</dependency>
3. 在Login1.jsp页面form中提交enctype="multipart/form-data"的数据
<form action="/userController/insertUser" method="post" enctype="multipart/form-data">
          <input type="text" required="required" placeholder="用户名" name="userName">
          <input type="password" required="required" placeholder="密码" name="passWord">
          <input type="file" name = "imgFile">
          <div id="bt">
            <input class="but" type="submit" value="注册">
            <a href="register.jsp" rel="external nofollow" ><input class="but" type="button" value="返回登录"></a>
          </div>
</form> 
4.处理请求UserController.java
   @RequestMapping("insertUser")
  public String insertUser (HttpServletRequest request, User user, MultipartFile imgFile) throws IOException {
    //获取文件原始名称
    String originalFilename = imgFile.getOriginalFilename();
    //上传图片
    if(imgFile!=null && originalFilename!=null && originalFilename.length()>0){
      //存储图片的物理路径
      String pic_path = "/home/ubuntu/IDEA/SSM/img/";
      //新的图片名称
      String newFileName = UUID.randomUUID() + originalFilename.substring(originalFilename.lastIndexOf("."));
      //新图片
      File newFile = new File(pic_path+newFileName);
      //将内存中的数据写入磁盘
      imgFile.transferTo(newFile);
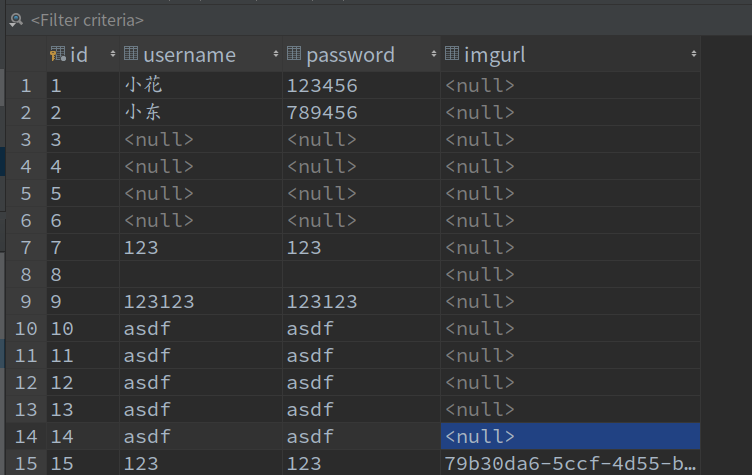
      userService.insertUser(user,newFileName);
      HttpSession session = request.getSession();
      session.setAttribute("imgUrl", newFileName);
    }

    return "item/success";
  }

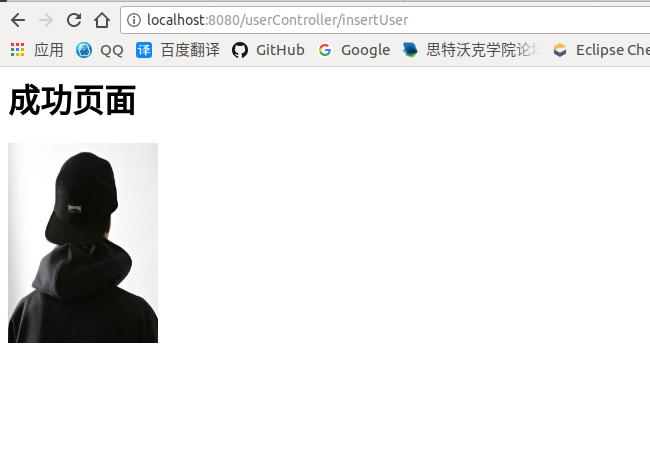
上传成功
成功跳转页面success.jsp
<%@ page contentType="text/html;charset=UTF-8" language="java" %>
<html>
<head>
  <title>成功</title>
</head>
<body>
<h1>成功页面</h1>
<img style="width: 150px; height: 200px"
src="http://localhost:8080/img/<%=session.getAttribute("imgUrl")%>">
</body>
</html>

以上就是本文的全部内容,希望对大家的学习有所帮助,也希望大家多多支持PHPERZ。
推荐阅读
最新资讯