Mybatis Generator自动生成对应文件的实现方法
发布于 2017-12-05 12:25:37 | 195 次阅读 | 评论: 0 | 来源: 网友投递
MyBatis 基于Java的持久层框架
MyBatis 本是apache的一个开源项目iBatis, 2010年这个项目由apache software foundation 迁移到了google code,并且改名为MyBatis 。
这篇文章主要介绍了Mybatis Generator自动生成对应的文件的实现方法,需要的朋友可以参考下
使用Generator自动生成我们需要的bean dao mapper xml等文件的过程(没有借助eclipse等编辑工具直接命令提示符生成)
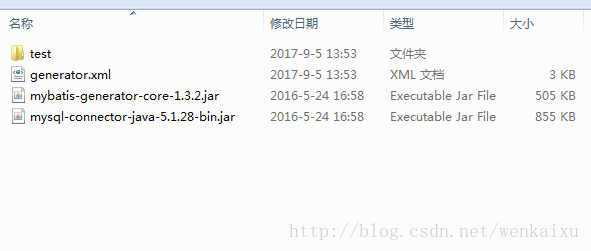
第一步:在E盘新建一个文件夹generator,在这文件夹下创建一个test文件夹用来存放生成的文件,在创建一个generator.xml的配置文件
第二步:导入需要的jar包 mybatis-generator-core-1.3.2.jar 和mysql-connector-java-5.1.28-bin.jar
第三步:编写generator.xml配置文件
<?xml version="1.0" encoding="UTF-8"?>
 <!DOCTYPE generatorConfiguration PUBLIC "-//mybatis.org//DTD MyBatis Generator Configuration 1.0//EN" "http://mybatis.org/dtd/mybatis-generator-config_1_0.dtd">
 <generatorConfiguration>
 <!-- 数据库驱动包位置 -->
 <classPathEntry location="E:\generator\mysql-connector-java-5.1.28-bin.jar" />
 <!-- <classPathEntry location="C:\oracle\product\10.2.0\db_1\jdbc\lib\ojdbc14.jar" />-->
 <context id="DB2Tables" targetRuntime="MyBatis3">
  <commentGenerator>
  <property name="suppressAllComments" value="true" />
  </commentGenerator>
  <!-- 数据库链接URL、用户名、密码 -->
  <jdbcConnection driverClass="com.mysql.jdbc.Driver" connectionURL="jdbc:mysql://localhost/webdata?characterEncoding=utf8" userId="root" password="root">
  <!--<jdbcConnection driverClass="oracle.jdbc.driver.OracleDriver" connectionURL="jdbc:oracle:thin:@localhost:1521:orcl" userId="msa" password="msa">-->
  </jdbcConnection>
  <!--java类型处理器 -->
  <javaTypeResolver>
  <property name="forceBigDecimals" value="false" />
  </javaTypeResolver>
  <!-- 生成bean的包名和位置 targetPackage 存放的包名 targetProject项目名 -->
  <javaModelGenerator targetPackage="entity" targetProject="E:\generator\test">
  <property name="enableSubPackages" value="true" />
  <property name="trimStrings" value="true" />
  </javaModelGenerator>
  <!-- 生成的映射文件包名和位置 -->
  <sqlMapGenerator targetPackage="mapper" targetProject="E:\generator\test">
  <property name="enableSubPackages" value="true" />
  </sqlMapGenerator>
  <!-- 生成DAO的包名和位置 -->
  <javaClientGenerator type="XMLMAPPER" targetPackage="dao" targetProject="E:\generator\test">
  <property name="enableSubPackages" value="true" />
  </javaClientGenerator>
  <!-- 要生成的表 tableName 表名 -->
  <table tableName="user" enableCountByExample="false" enableUpdateByExample="false" enableDeleteByExample="false" enableSelectByExample="false" selectByExampleQueryId="false" />
  <table tableName="product" enableCountByExample="false" enableUpdateByExample="false" enableDeleteByExample="false" enableSelectByExample="false" selectByExampleQueryId="false" />
 </context>
 </generatorConfiguration>
编写完后
第四步:打开cmd命令提示行 进入到E盘generator目录下 执行
java -jar mybatis-generator-core-1.3.2.jar -configfile generator.xml -overwrite 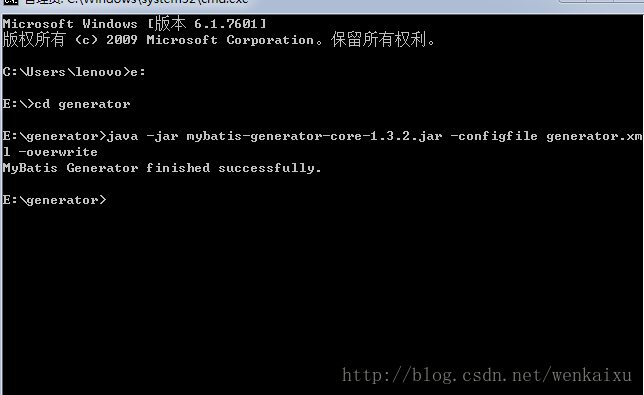
这样就表示创建成功
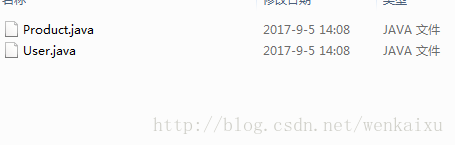
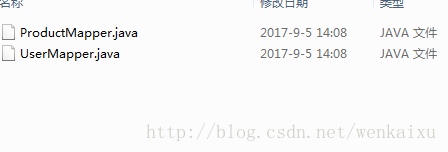
自动帮我们创建了三个文件夹并把相应的java文件创建好了

创建我们编写sql语句的mapper.xml文件

创建对应的实体类
创建对应的dao接口
总结
以上所述是小编给大家介绍的Mybatis Generator自动生成对应的文件的实现方法,希望对大家有所帮助,如果大家有任何疑问请给我留言,小编会及时回复大家的。在此也非常感谢大家对PHPERZ网站的支持!
推荐阅读
最新资讯