CentOS7.2安装GitLab-CE
发布于 2016-10-13 15:44:29 | 226 次阅读 | 评论: 0 | 来源: PHPERZ
GitLab项目管理和代码托管平台
GitLab 是一个用于仓库管理系统的开源项目。使用Git作为代码管理工具,并在此基础上搭建起来的web服务。
GitLab是一个很好的git的web管理系统,其免费版本GitLab-CE也足够满足一般的需求。这里记录下GitLab-CE的安装过程。
GitLab官网:https://about.gitlab.com
GitLab中文网:https://www.gitlab.cc
1.根据官方文档安装
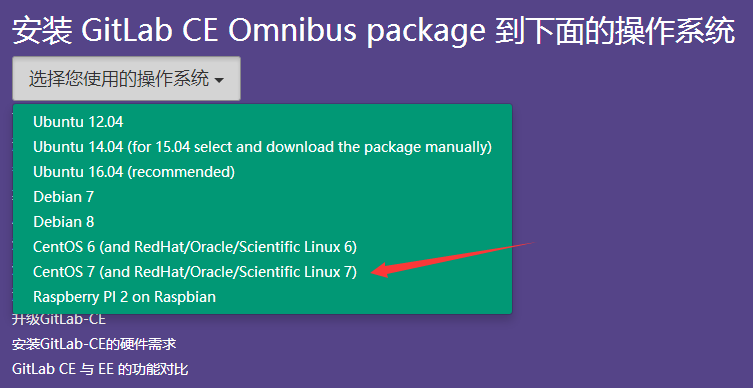
1)选择相应的版本
2)安装基础软件依赖包
sudo yum install curl policycoreutils openssh-server openssh-clients
3)开启sshd服务
sudo systemctl enable sshd
sudo systemctl start sshd
4)开放GitLab web的端口
firewall-cmd --permanent --add-port=80/tcp
5)添加gitlab国内yum源,并安装gitlab-ce
curl -sS http://packages.gitlab.cc/install/gitlab-ce/script.rpm.sh | sudo bash
sudo yum install gitlab-ce
(GitLab-CE中国镜像源 清华大学TUNA开源镜像站, 浙江大学开源镜像站)
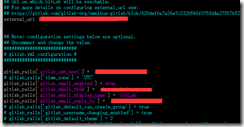
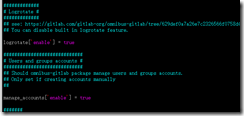
6)配置/etc/gitlab/gitlab.rb,可参考https://doc.gitlab.cc/omnibus/
若使用HTTPS方式,还需证书:
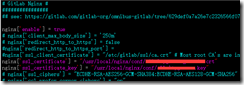
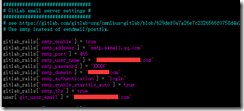
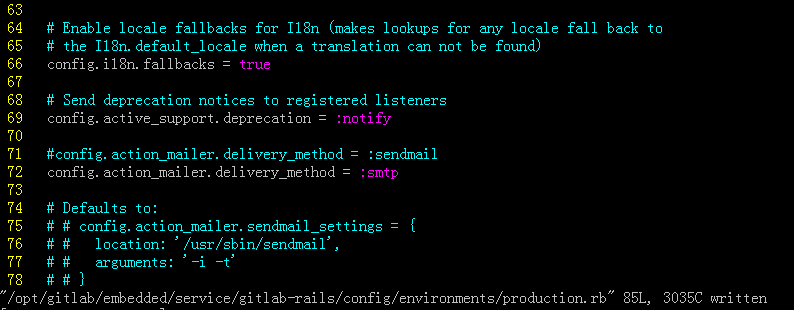
若使用smtp方式收发邮件,需要修改此处
vim /opt/gitlab/embedded/service/gitlab-rails/config/environments/production.rb
7)执行命令:gitlab-ctl reconfigure
如果报如下错误,用户不存在:
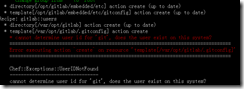
则手动添加用户(不知道别人是不是也有这种情况)
useradd -d /var/opt/gitlab -s /bin/sh git
useradd -d /var/opt/gitlab/nginx -s /bin/false gitlab-www
useradd -d /var/opt/gitlab/redis -s /bin/nologin gitlab-redis
useradd -d /var/opt/gitlab/postgresql -s /bin/sh gitlab-psql
后再次执行如下命令:
gitlab-ctl reconfigure
8)上述命令执行成功后执行如下命令启动GitLab:
gitlab-ctl start
最后,浏览器访问GitLab对外显示的地址,即可正常使用了。
推荐阅读
最新资讯