在 VS2013的ASP.NET网站开发中用 xheditor v1.1.13 作为HTML编辑器
发布于 2015-04-26 21:56:44 | 534 次阅读 | 评论: 0 | 来源: 网友投递
xhEditor 可视化XHTML编辑器
xhEditor是一个基于jQuery开发的简单迷你并且高效的在线可视化HTML编辑器,基于网络访问并且兼容IE 6.0+,Firefox 3.0+,Opera 9.6+,Chrome 1.0+,Safari 3.22+。
要用vs2013开发一个博客网站,.net framework 4,需要一个HTML编辑器作为写文章的工具。经多方试用,排除了dotnettextbox、kceditor。觉得xheditor 不错,现将使用方法记录如下:
1.到http://xheditor.com/下载
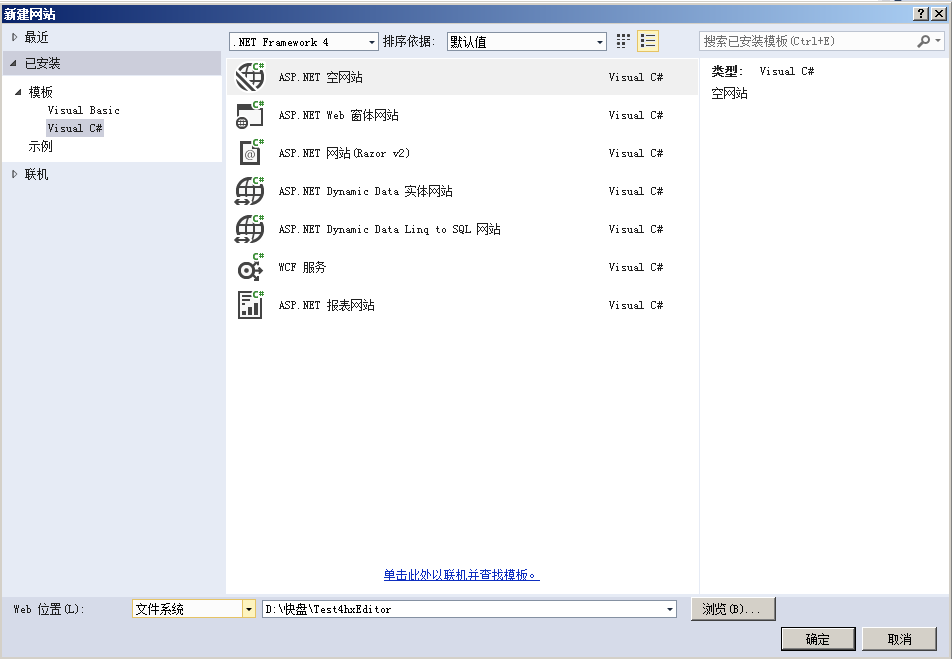
2.用vs2013新建一个网站,网站名任何,此例为Test4hxEditor.如下图。
3. 将xheditor-1.1.13在asp.net中使用.rar 文件中的xheditor_emot、xheditor_skin两个文件夹及xheditor-1.1.13-zh-cn.min.js、 jquery-1.4.4.min.js两个文件解压到上网站所在的文件夹“d:快盘Test4hxEditor”内。
4.在vs2013内为TestfhxEditor添加一个Web窗体,此例中名为Default。
5.在vs2013内打开Default.aspx文件,修改如下,其中粗体显示的为修改增加的内容。如下所示:
<pre name="code" class="plain"><%@ Page Language="C#" AutoEventWireup="true" ValidateRequest="false"  CodeFile="Default.aspx.cs" Inherits="_Default" %>

<!DOCTYPE html>

<html xmlns="http://www.w3.org/1999/xhtml">
<head runat="server">
<meta http-equiv="Content-Type" content="text/html; charset=utf-8"/>
    <title></title>
    <script type="text/javascript" src="jquery-1.4.4.min.js"></script>
    <script type="text/javascript" src="xheditor-1.1.13-zh-cn.min.js"></script>
    <script type ="text/javascript">
        $(document).ready(function () {
            $('#elm1').xheditor({ tools: 'GStart,Fontface,FontSize,Blocktag,Bold,Italic,Underline,Strikethrough,FontColor,BackColor,Removeformat,Separator,Align,List,Outdent,Indent,Separator,Cut,Copy,Paste,Pastetext,Separator,Link,Unlink,Img,Emot,Table,Separator,About,GEnd', skin: 'default', showBlocktag: false, internalScript: false, internalStyle: false, width: 600, height: 300, loadCSS: 'http://xheditor.com/test.css', fullscreen: false, sourceMode: false, forcePtag: true, upImgUrl: "pictures", upImgExt: "jpg,jpeg,gif,png" });
        });
    </script>
</head>
<body>
    <form id="form1" runat="server">
    <div>
    <textarea runat="server" id="elm1" name="content" rows="20" cols="100"></textarea>
             <asp:Label ID="Label1" runat="server" Text="Label"></asp:Label>
             <asp:Button ID="Button1" runat="server" Text="Button" OnClick="Button1_Click" />
    </div>
    </form>
</body>
</html>
6.将Default.aspx设计视图下,双击其中的"Button"按钮,进入Default.aspx.cs文件的编辑界面,并将其编辑为如下所示:
public partial class _Default : System.Web.UI.Page
{
    protected void Page_Load(object sender, EventArgs e)
    {

    }
    protected void Button1_Click(object sender, EventArgs e)
    {
        Label1.Text = elm1.Value;
    }
}
7.在vs2013内打开Web.config文件,在“<system.web></system.web>”内增加如下内容:“<httpRuntime requestValidationMode="2.0" />”。如下所示。
    <system.web>
      <compilation debug="true" targetFramework="4.0" />
      <httpRuntime requestValidationMode="2.0" />
    </system.web>
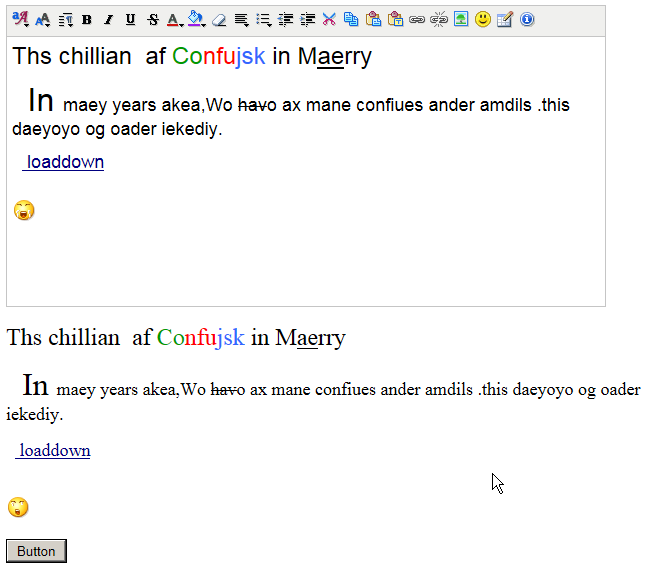
8.运行网站。出现一个编辑器,在其中输入内容并编辑,完成后单击按"Button"按钮,可将所编辑的内容传给label1。如下图所示。
至此,xheditor 已基本可用,至于图片上传的功能,另文详述.